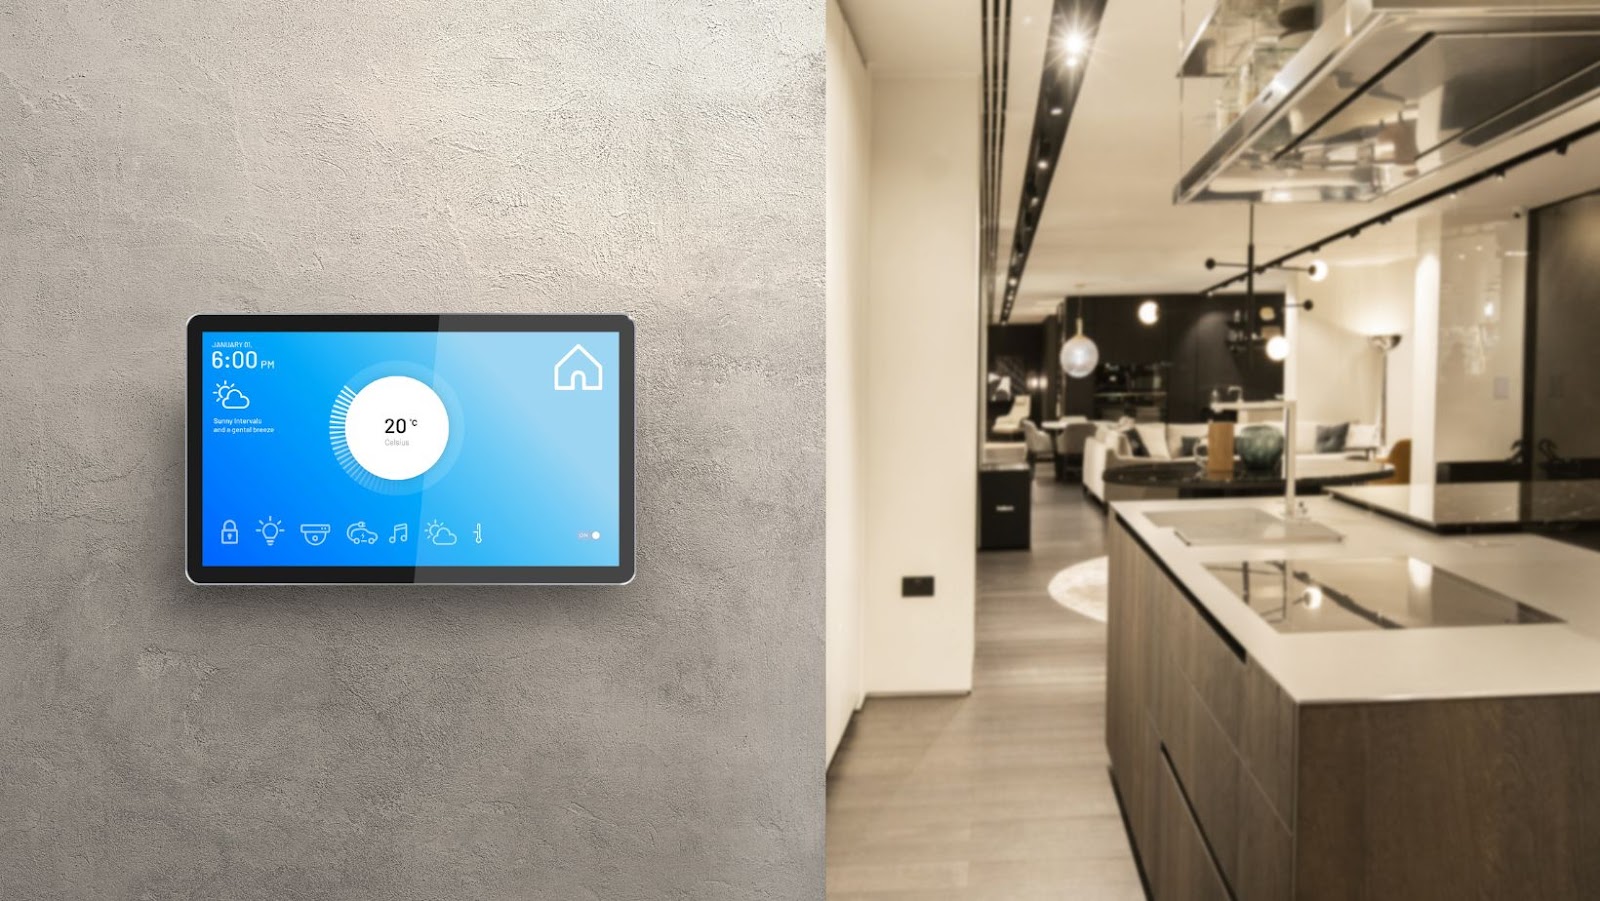
Installing a smart thermostat is a great way to control your home’s temperature remotely and save money on your energy bill. However, if you’ve never done it, the installation process might seem a bit daunting. In this article, I’ll cover installing a smart thermostat step-by-step.
Before you start, turn off the power to your HVAC unit. Then remove the old thermostat cover and label which wires went into which terminals. This will make it easier to install the new smart thermostat.
Next, you’ll need to find your HVAC system’s C-wire or common wire. This wire is necessary for most smart thermostats to function properly. If your system doesn’t have a C-wire, don’t worry; you can try a few workarounds. Once you’ve found the C-wire, connect it to the appropriate terminal on the new thermostat and attach the other wires according to the manufacturer’s instructions. Finally, attach the backplate to the wall and snap on the front of the thermostat.
Preparing for Installation
Before installing a smart thermostat, ensuring everything is in order is crucial. Here are the steps you should follow to prepare your home for installation.
1. Check Compatibility – Most smart thermostats are compatible with various heating and cooling systems. Still, verifying that your HVAC system is compatible with the smart thermostat you want to install is better.
2. Turn off the Power – Turn off the power to your HVAC system before starting the installation process. The power can typically be turned off at the breaker switch connected to your heater/thermostat system.
3. Remove Old Thermostat – Remove your old thermostat from the wall if you have one. Take a picture of the wiring before removing the old thermostat.
4. Label the Wires – Once the old thermostat is removed, label each wire according to the lettered terminals on the old thermostat base.
5. Install the New Thermostat Base – After labeling the wires, install the new base of the smart thermostat. Ensure that the new base is secured in place.
6. Connect the Wires – Connect the wires to their corresponding terminals on the new thermostat base. Refer to the labeling you made earlier to match the wires with the correct terminal.
7. Attach the Smart Thermostat – Attach the smart thermostat to the base. Make sure that the thermostat is in a level position before mounting it.
8. Restore Power – Turn the power back on and test your new smart thermostat to ensure proper functionality.
By following these simple steps for preparing your home for the installation, you can ensure a smooth and hassle-free experience while installing your new smart thermostat. Next, we will continue configuring your new smart thermostat for optimal usage.
How To Install Smart Thermostat
If you want to upgrade your home’s HVAC system, a smart thermostat is a great place to start. Installing it may seem intimidating, but it’s quite easy with some guidance. Here’s how you can install a smart thermostat in your home:
1. Turn off the power supply – Before you start, turn off the power supply to the HVAC system. You can do this by turning off the circuit breaker or pulling the fuse from the unit.
2. Label wires – Label the wires using the stickers with the thermostat. It’s important to track which wire goes where, so labeling them will make reconnecting easier.
3. Remove the old thermostat – After labeling the wires, you can remove the old thermostat. You can unscrew it from the wall and gently pull it away from the mounting plate.
4. Install the mounting plate – Now you can attach the mounting plate to the wall using the screws that come with the thermostat. But, first, make sure it’s level and securely fastened.
5. Connect wires to the new thermostat – Once the mounting plate is installed, you can connect the wires to the new thermostat. Again, refer to the manual to ensure you connect them to the right terminals.
6. Install the thermostat – You can snap the new thermostat onto the mounting plate once the wires are connected. Make sure it’s level and secure.
7. Turn on the power – Finally, turn the power supply back on and test your new smart thermostat. Follow the manufacturer’s instructions on connecting the thermostat to your Wi-Fi network and setting up its features.
Following these simple steps, you can have a smart thermostat up and running quickly. Not only will it make your home more energy-efficient and comfortable, but it will also give you greater control over your HVAC system.
Connecting and Setting Up the Thermostat
Connecting and setting up the smart thermostat is easy, but it may vary depending on the manufacturer. However, the following steps are general instructions that apply to most thermostats.
1. Shut off Power: Before installing the thermostat, the power to the HVAC system must be turned off. Locate the circuit breaker that powers the HVAC system and switch it off.
2. Remove Old Thermostat: Remove the old thermostat’s cover and disconnect the wires. Next, use a screwdriver to remove the mounting plate from the wall and remove the old thermostat.
3. Install the New Thermostat: After removing the old thermostat, connect the wires to the terminals on the back of the new thermostat. Ensure that each wire goes to the right terminal and is securely fastened. Next, carefully mount the new thermostat on the wall, using the provided screws or adhesive pads.
4. Connect to Wi-Fi: Nowadays, most smart thermostats allow you to connect to your home’s Wi-Fi network. Follow the manufacturer’s instructions to connect the device to Wi-Fi and set up an account if necessary. Also, download the manufacturer’s app on your smartphone to control the thermostat from your mobile device.
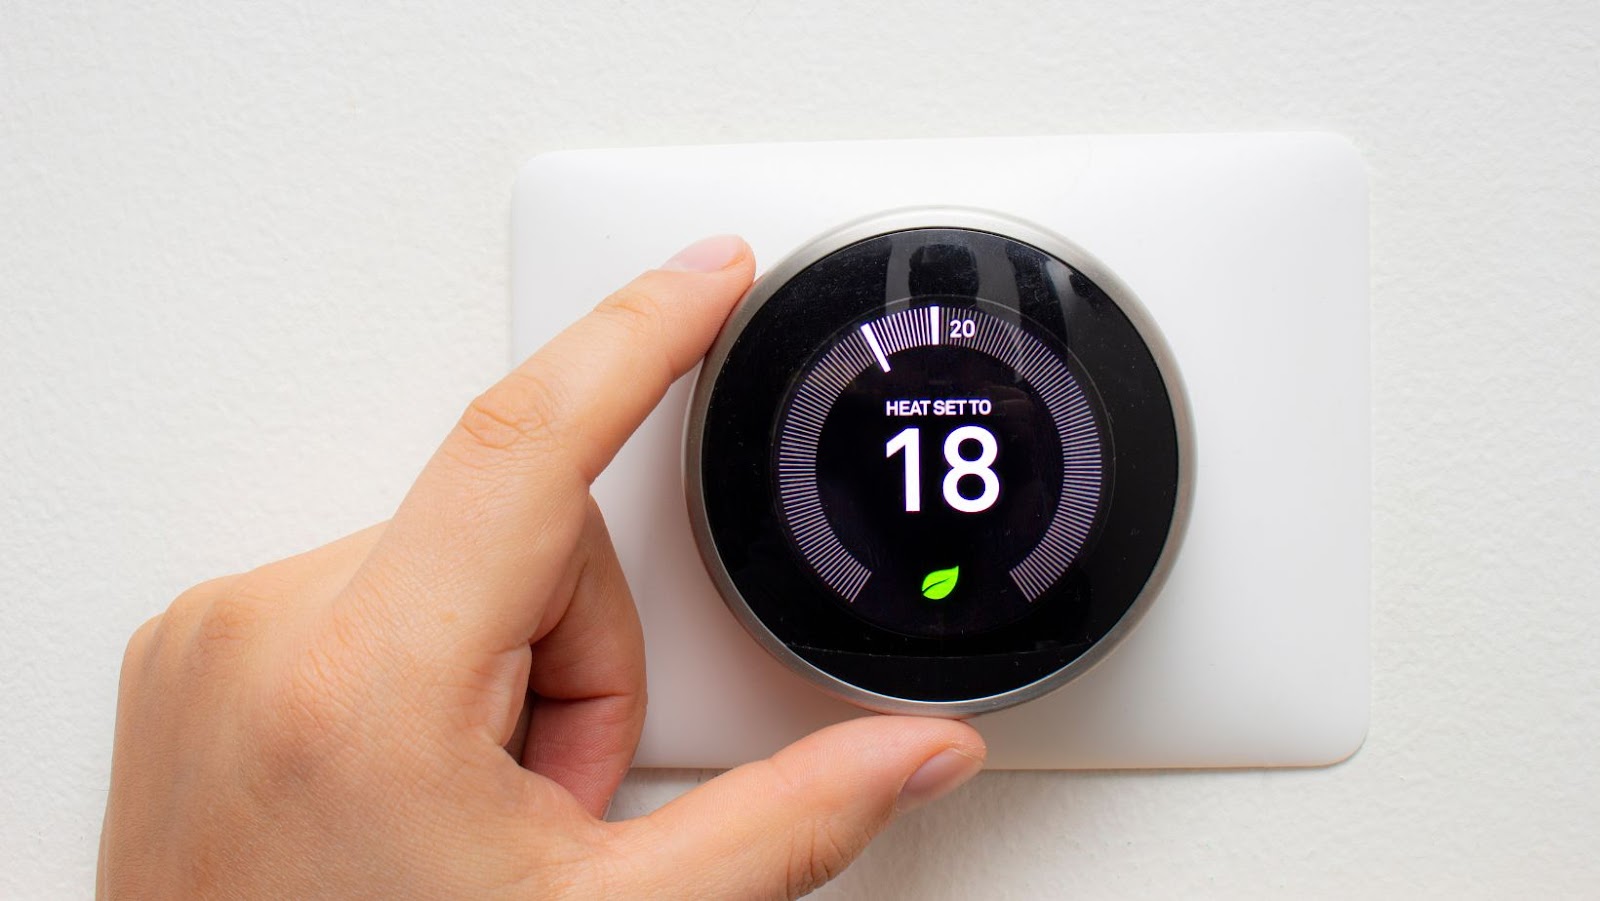
5. Program the Thermostat: Now that the thermostat is connected and installed, it’s time to set it up. Follow the instructions on the device’s screen or use the mobile app to program the thermostat. Smart thermostats usually allow you to set temperature schedules, adjust settings remotely, and create custom temperature zones.
6. Test the Thermostat: Turn on the circuit breaker and test the thermostat to ensure it works correctly. Then, adjust the temperature and verify that the HVAC system responds accordingly.
Congratulations, you have installed and connected your new smart thermostat! Enjoy the comfort and energy-saving benefits of this innovative device.
Conclusion
And that’s it! You now know how to install a smart thermostat.
Installing a smart thermostat can seem daunting at first, but following the steps and guidelines outlined in this article should be straightforward and stress-free. Ensure you gather all the necessary tools and materials beforehand, and remember to turn off the power before you begin.
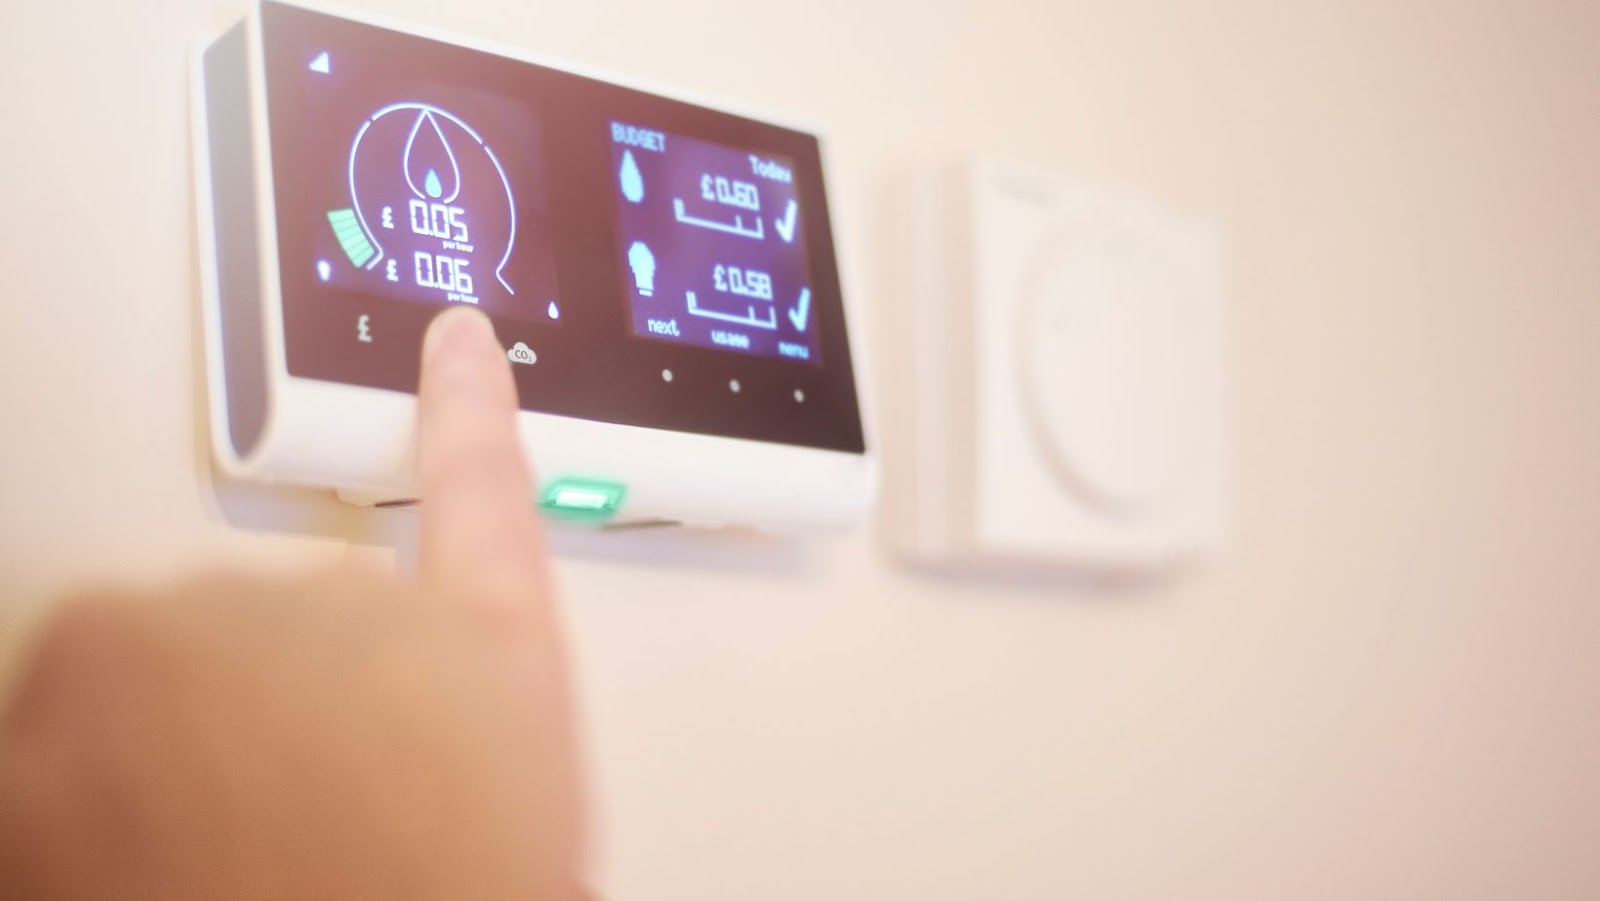
By installing a smart thermostat, you’ll be able to control your home’s temperature with ease and efficiency. This can help you save money on energy bills and reduce your carbon footprint. In addition, many smart thermostats offer additional features like remote control via smartphone app and compatibility with voice assistants like Amazon Alexa and Google Assistant.
So take the plunge and install a smart thermostat in your home today. It may seem like a small change, but it can greatly impact your comfort, convenience, and the environment.